Installing
Notice: This documentation refers to version 6 and higher. Information is provided for updating from older versions. Starting with version 6, download, license, and model management are handled through the IF (Innovations Foresight) Portal. IMPORTANT: If you already have an SKG or SKW version older than 6.0, these are not compatible with IF portal version management. You will need to uninstall them using the Windows OS uninstall tool first.
Please save the path of your working folder, available at the bottom of the GUI, as you will need to provide it after installing the new version. When you run the new version for the first time, it should automatically detect your current license. If not, you can manually load the license key. All your models and credits (if any) will remain available as long as you provide the same working folder and using the same license key.
After installing a new version from the IF portal (6.0 or higher), future updates will be fully managed by the portal. There will no longer be a need to use the Windows OS uninstall tool unless you want to permanently remove SKG or SKW from your machine.
Note: Only one instance of SKG or SKW can be installed on a single machine. However, you can upgrade or downgrade between SKG and SKW.
We assume you have downloaded the latest SKG or SKW installation package from the IF portal.
The IF portal allows users to download software installation packages, manage licenses, and access SKW mathematical models for telescopes. SKG and SKW licenses and models are valid for only one machine; however, they can be transferred from one machine to another using the portal. Licenses and models are issued only to registered customers and are not permitted to be transferred, shared, or rented to any third party in any form. They are strictly for personal use. If you encounter any problems during this process, please contact Innovations Foresight for support.
To access the IF portal, a user must first create an account on the Innovations Foresight website. This account enables downloads, as well as license, module, and credits management through the IF portal. The basic structure is summarize in the block diagram below: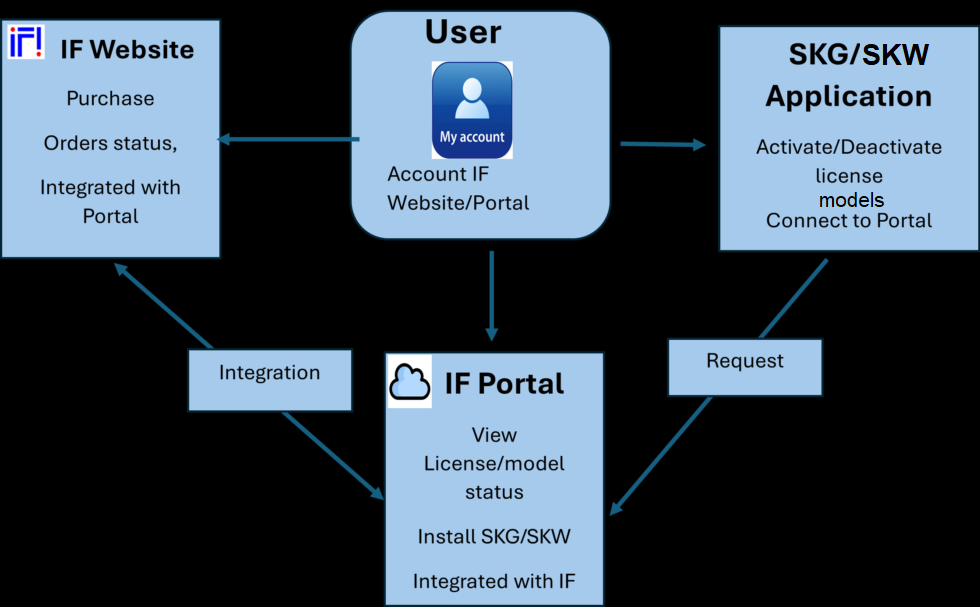
The files are compressed using the standard ZIP format.
For further information about downloads, user accounts, license and model management, as well as procedures for accessing the IF portal, please refer to the Software Download, Installation, License & Model management Guide. The SKG, SKW, ASCOM, and general software version numbers mentioned in this documentation are provided as examples and may not reflect the current (required) versions.
Before installing SKG or SKW on a local hard drive, unzip the installation package into a folder (i.e. c:\install).
Since all the applications are installed under a unique installer, a shortcut named "SkySurveyor" will be added to the user's desktop. It can be renamed later by the user.
The choice between
 SkyGuard requires the Microsoft C++ Runtime. It must be installed before installing SkyGuard.
It can be found here: “SkyGuard_x86_ASCOM64_MDL6_v3.3.0000.00000\Redist\vcredist_x86.exe”
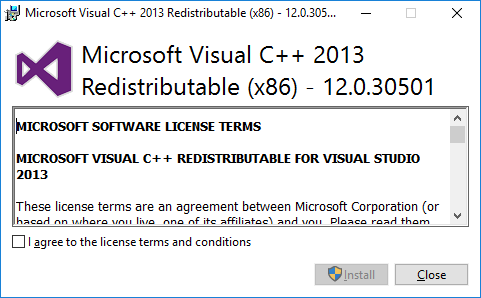
To allow installation, read the license terms and conditions and check “I agree to the license terms and conditions”.
Then click the “Install” button.
If UAC is enabled on the computer, there will be a UAC prompt.

 UAC requires administrator access. If the account does not have administrator privileges, an administrator user and password will be necessary to continue the installation.
Click the “Yes” button to continue or “No” to abort the installation.
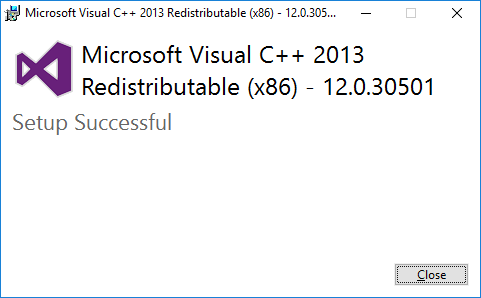
At the end of the installation, “Setup Successful” will be displayed.
To leave the Microsoft Visual C++ setup, click the “Close” button.
SkyGuard requires the ASCOM Platform 7.0. It must be installed before installing SkyGuard.
If it is not installed, you can download it from https://ascom-standards.org/Downloads/Index.htm
If UAC is enabled on the computer, there will be a UAC prompt.
UAC requires administrator access. If the account does not have administrator privileges, an administrator user and password will be necessary to continue the installation.
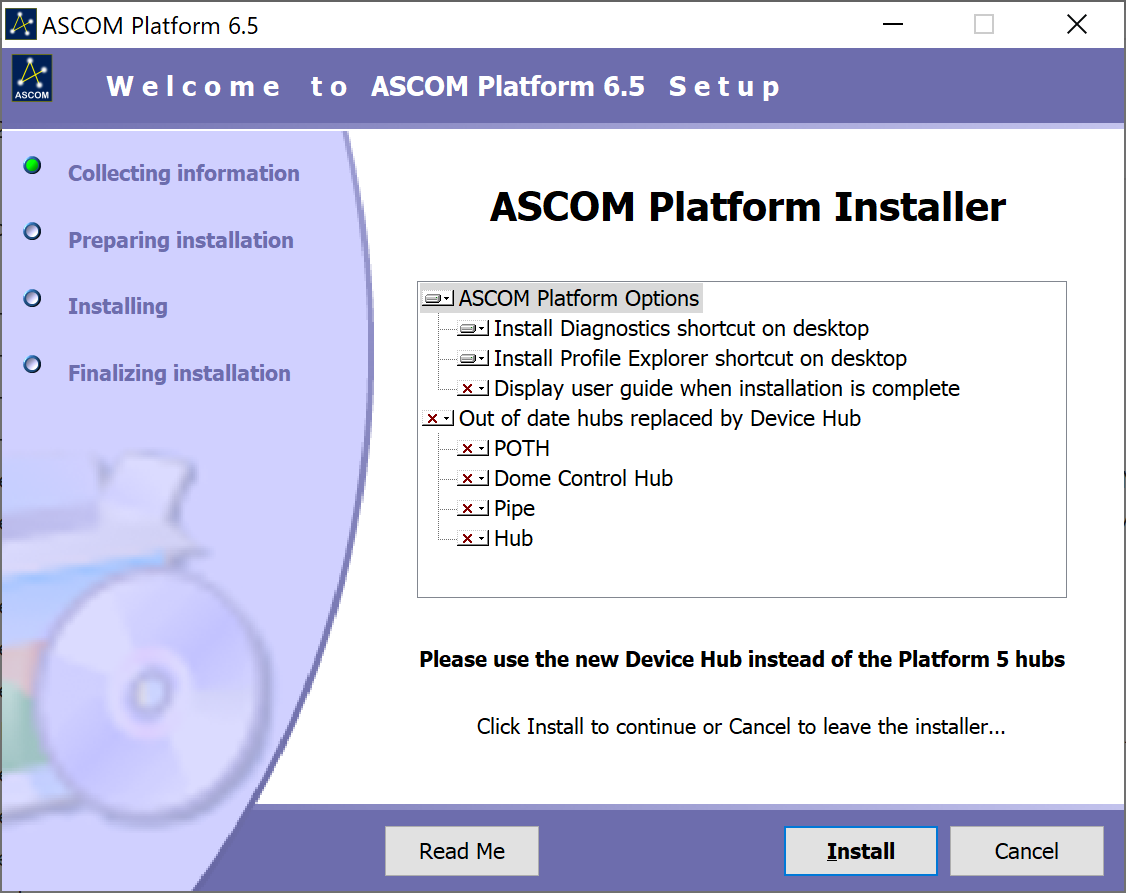
Click "Install" to continue
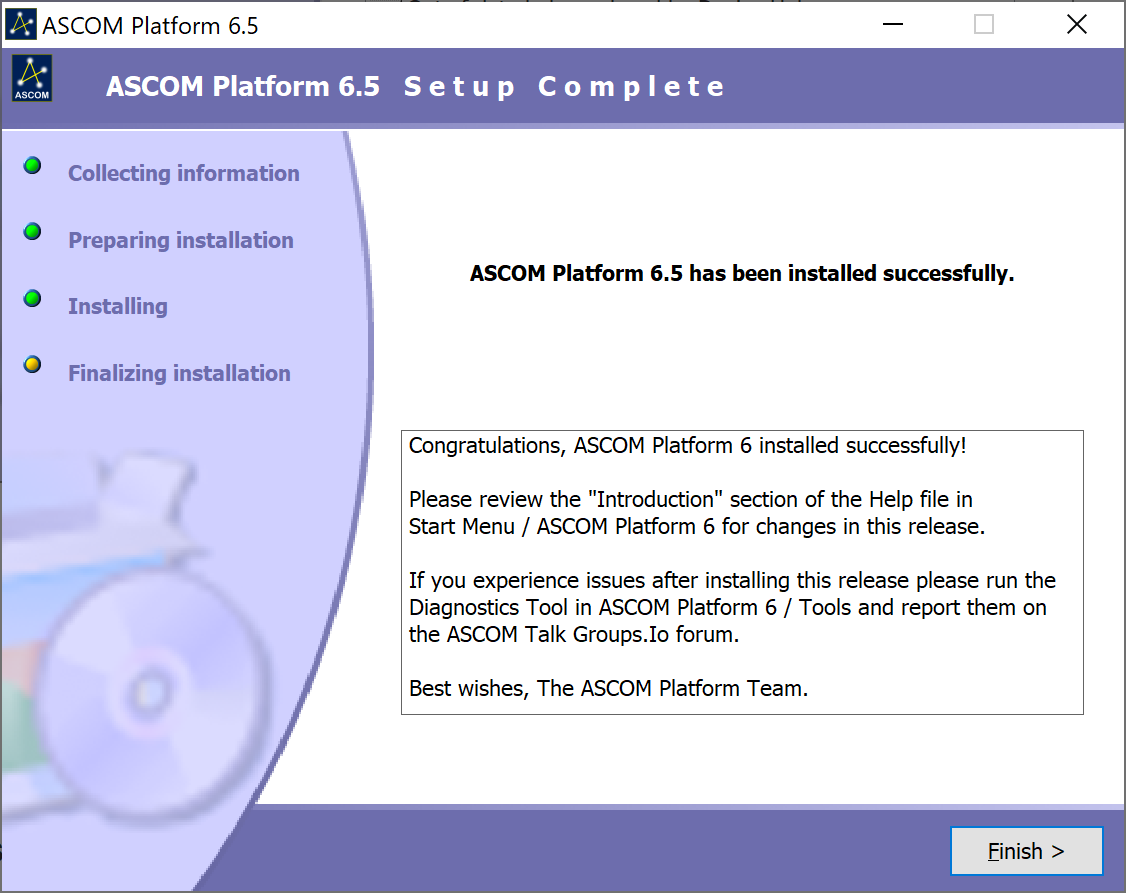
Click "Finish >" to finalize the installation.
Now, “SkyGuard” can be installed.
To proceed, execute: “SkyGuard_x86_ASCOM64_MDL6_v3.3.0000.00000\SkyGuard.msi”
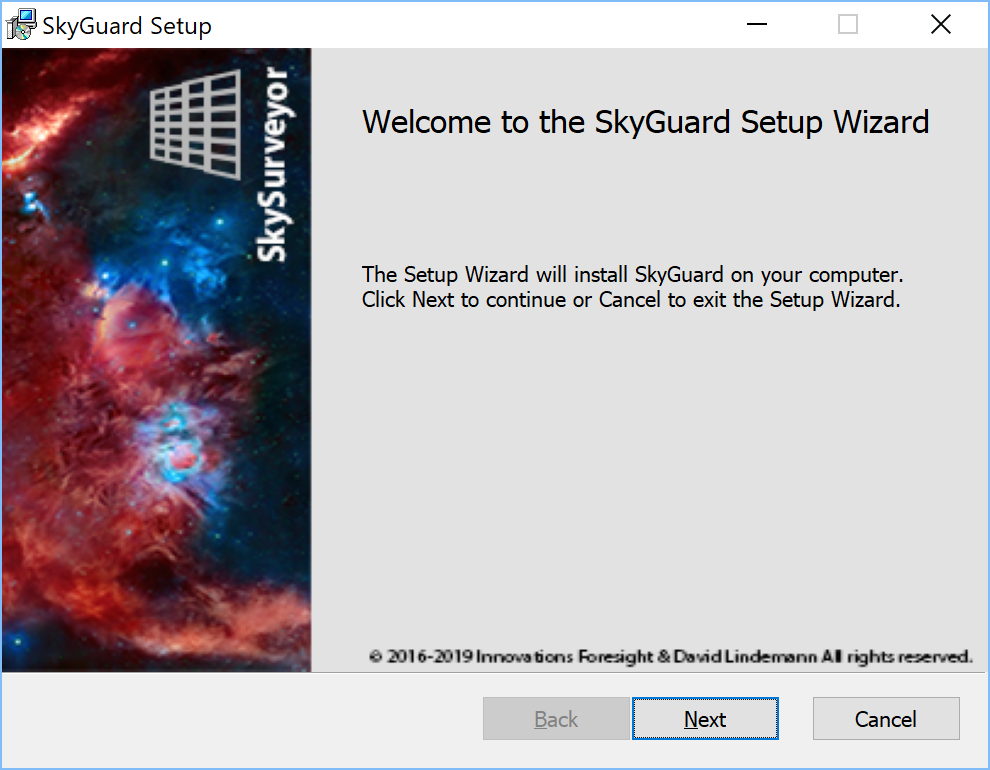
To start the installation, click the “Next” button.
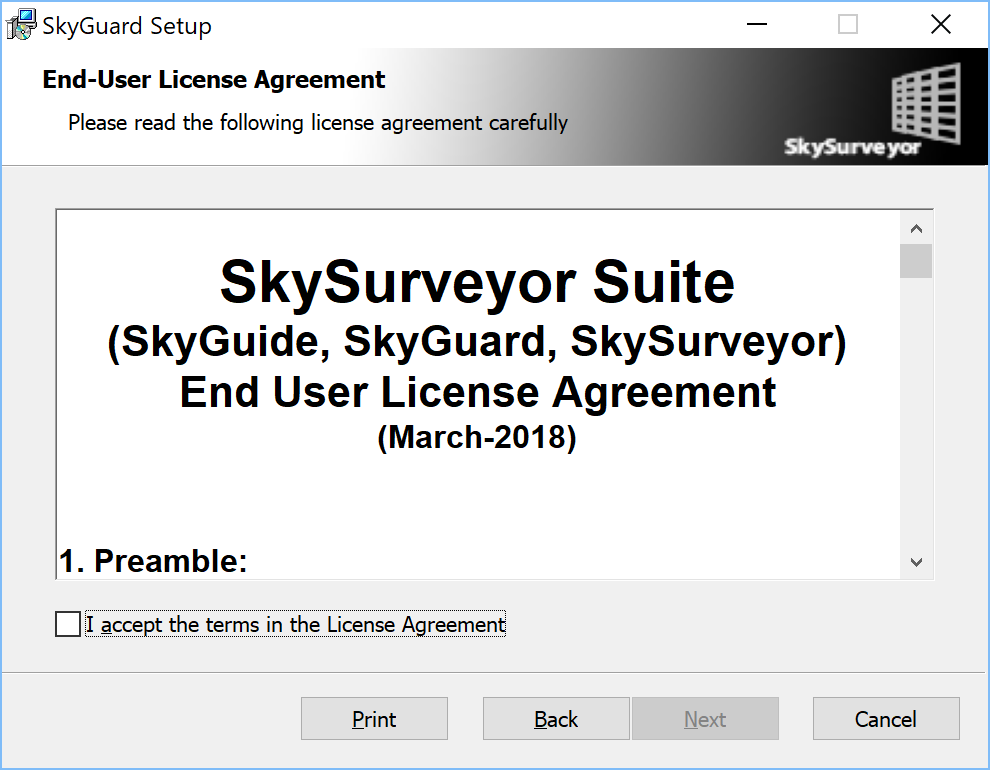
To allow installation, read the license terms and conditions and check “I accept the terms in the License Agreement”.
Then click the “Next” button.
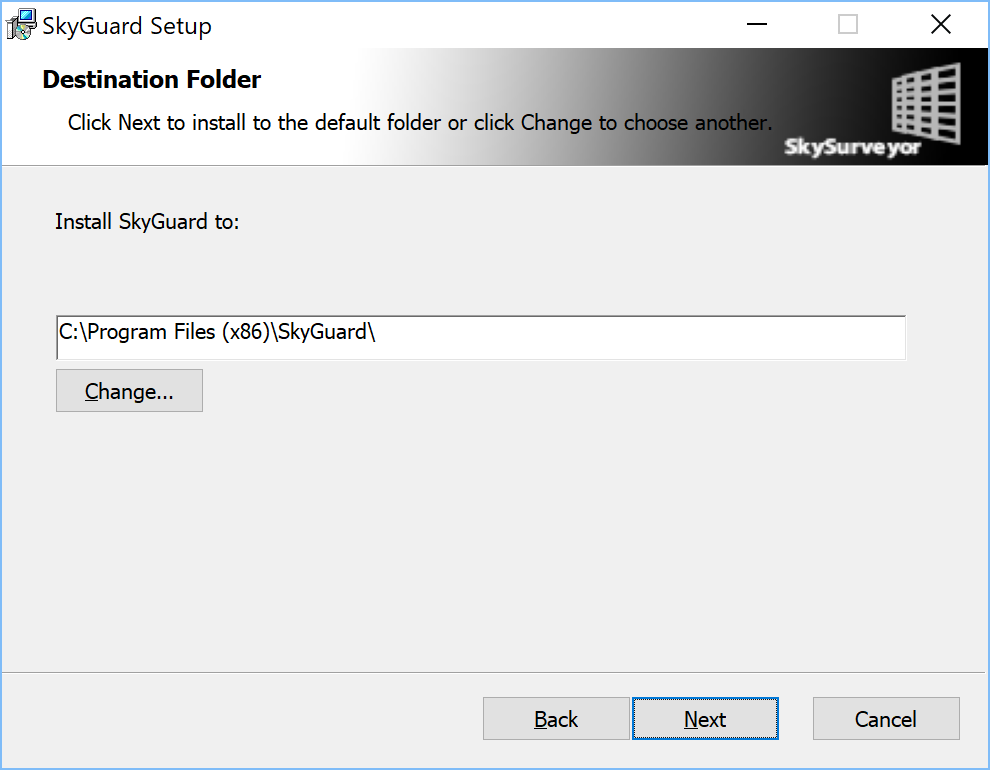
By default, SkySurveyor will be installed in the “C:\Program Files (x86)\SkyGuard\” folder but another location can be chosen if desired.
Once ready, click the “Next” button to continue the installation.
Click the “Next” to continue.
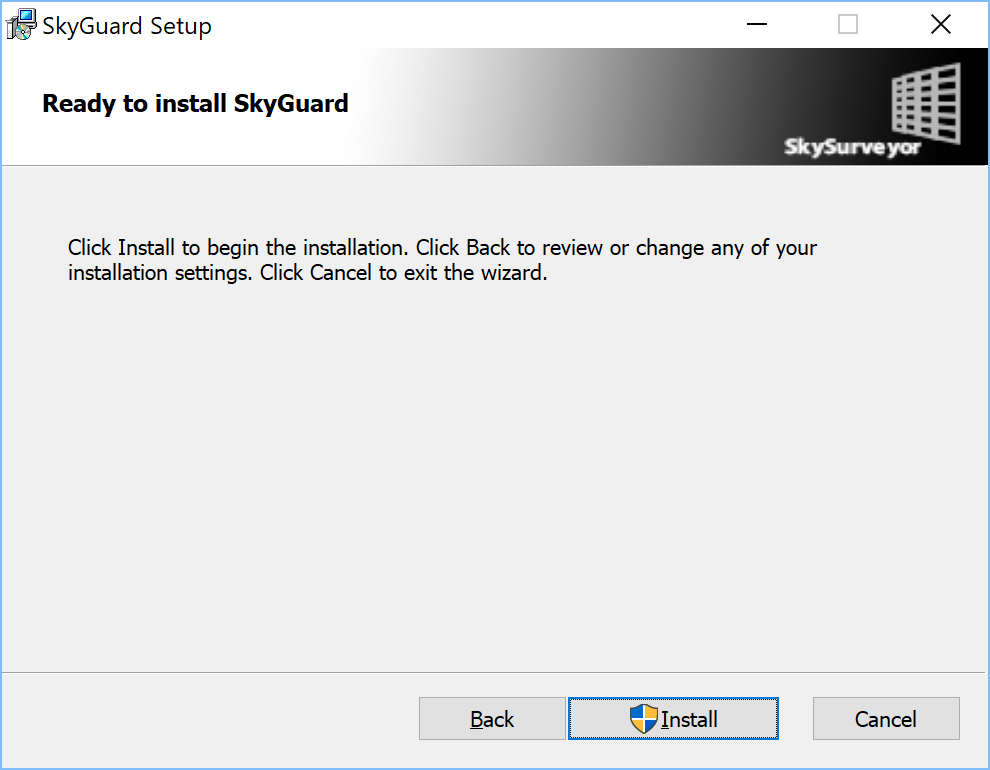
Click Install to proceed with the installation.
If UAC is enabled on the computer, there will be a UAC prompt.
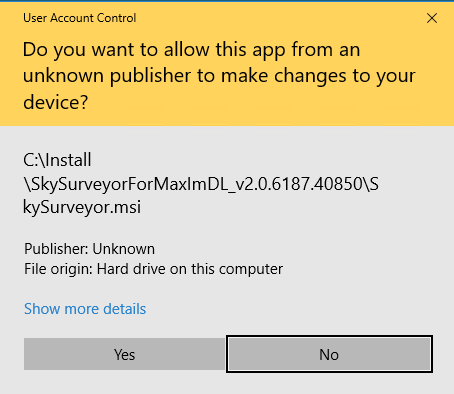
UAC requires administrator access. If the account does not have administrator privileges, an administrator user and password will be necessary to continue the installation.
Click the “Yes” button to continue or “No” to abort the installation.
At the end of the installation, if the software was successfully installed, the following dialog box will appear.
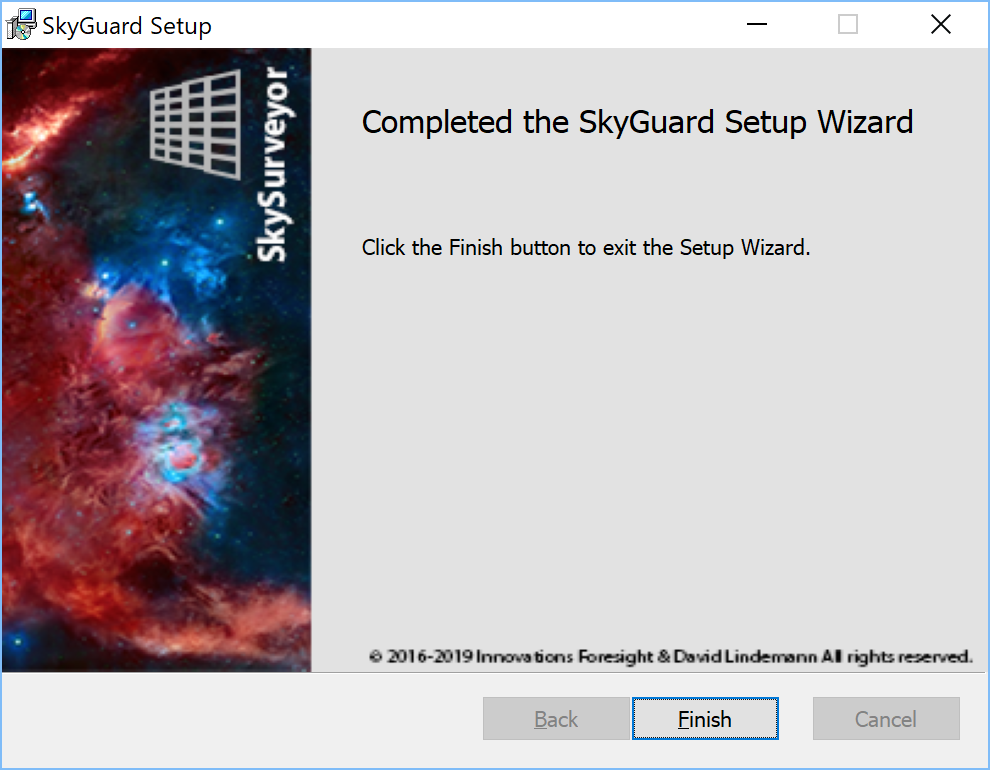
To leave the installer, click the “Finish” button.
An icon called SkyGuard V3 has been added to your Windows desktop, you can use it to start SkyGuard.